
Hexo+Butterfly+GitHubPages 搭建个人博客
你可能会问本站是怎么来的?
既然你诚心诚意的发文了,那我就大发慈悲的告诉你!
前置准备
安装 git
前去 gitbash 官网 根据自己的系统下载 gitbash。
如果你从未安装过 gitbash,那么在安装过程中只要一路默认即可,需要注意的是软件的安装路径;如果你安装过 gitbash,那么就按自己的喜好进行安装即可。
当你已经安装好 gitbash 后,我们还需要一些必要的配置,请到工作目录右键选择 Git bash here 来启动 gitbash,并在终端执行如下命令:
设置 Git 用户名: |
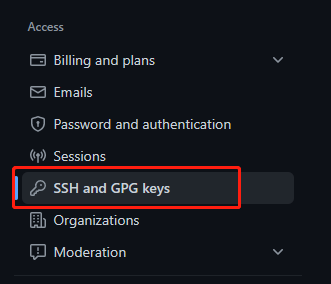
配置 GitHub 密钥
如果已经配置过密钥可以跳过
- 首先打开 gitbash 终端执行如下命令生成本地密钥
ssh-keygen -t rsa |
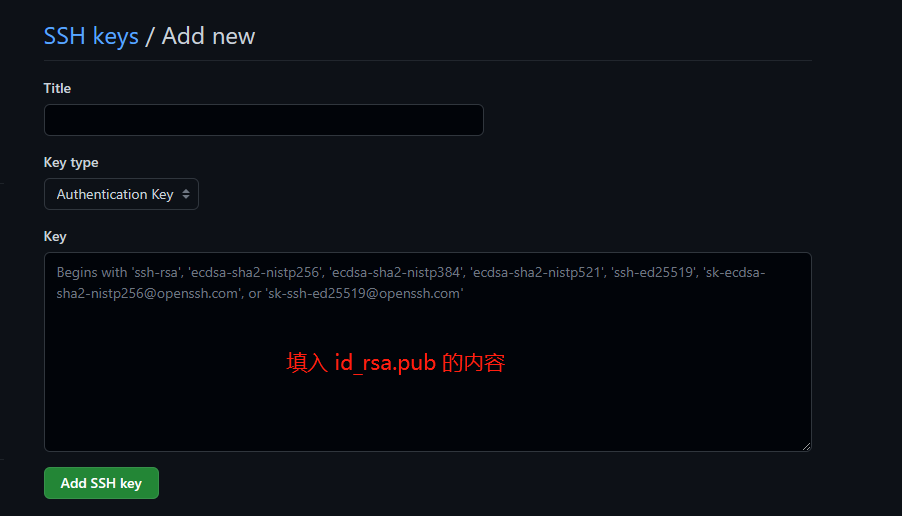
之后一路回车即可。命令执行完毕之后会生成 ~/.ssh/ 目录,目录下有 id_rsa 和 id_rsa.pub 两个文件,将 id_rsa.pub 文件中的内容复制到 GitHub 中。

安装 nodejs
前去 nodejs 官网 下载自己系统对应版本的 LTS nodejs。安装过程一直默认下一步即可,需要注意的就是 nodejs 安装的路径。
安装完毕之后需要确认 nodejs 是否安装成功,可以打开 gitbash 终端来进行确认,打开 gitbash 终端之后输入如下命令来确认:
查看 nodejs 版本 |
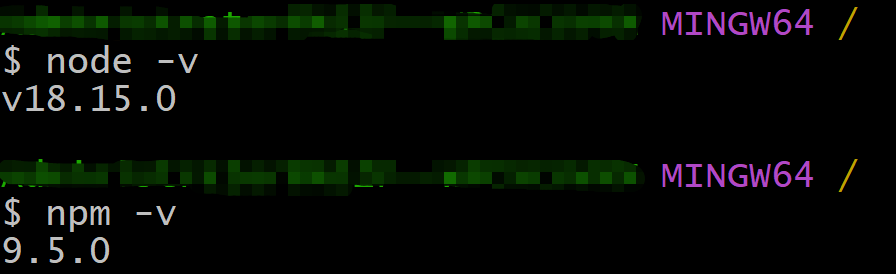
如果以上命令能够正确输出版本号即表明 nodejs 安装成功。
安装 Hexo
打开 gitbash 终端,输入 Hexo 安装命令
npm install -g hexo-cli |
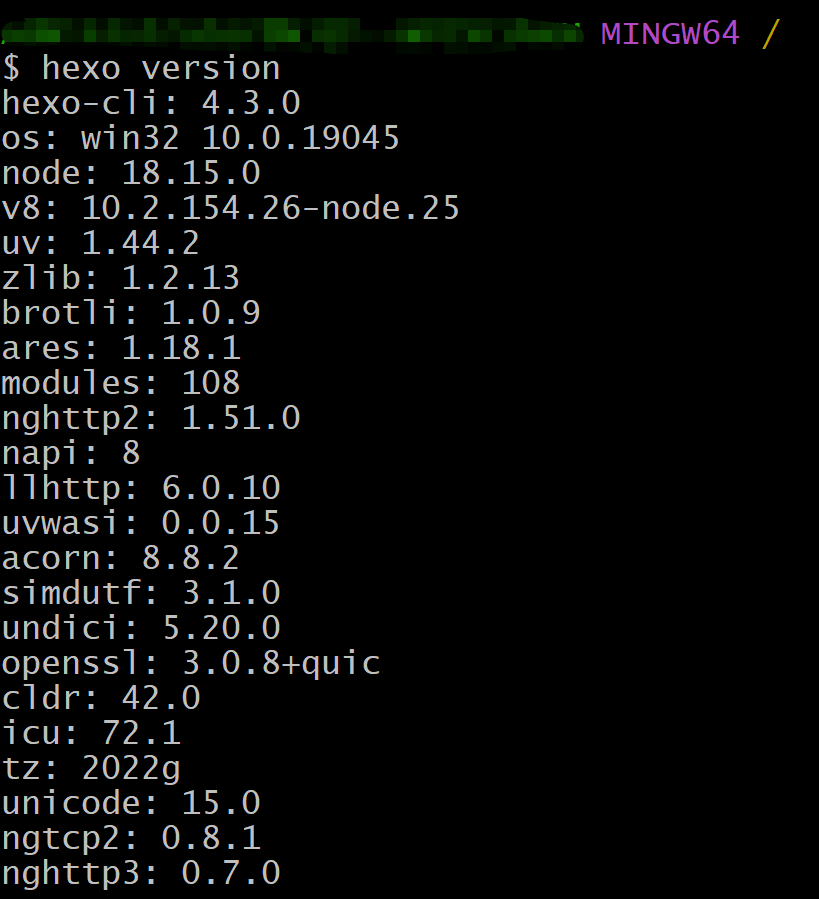
安装过程可能会比较长,请耐心等待。安装成功后可以输入如下命令来验证 Hexo 是否安装过。
hexo version |
当安装成功后我们可以使用如下命令来生成一个空的博客框架
hexo init <folder> |
新建完毕之后目标文件夹的目录结构如下所示:
. |
使用 hexo s 来启动博客服务并在本地访问 http://localhost:4000/ 来访问博客。
安装 butterfly
在 Hexo 生成的博客的根目录,执行如下命令来安装 butterfly 主题。
git clone -b master https://github.com/jerryc127/hexo-theme-butterfly.git themes/butterfly |
并将根目录下的 _config.yml 中的 theme 改为 butterfly,然后启动 Hexo 即可看到主题效果。你也可以进行一些配置来个性化主题
创建 GitHub Repository
登录自己的 GitHub 账号并创建一个形如 your_user_name.github.io (其中 your_user_name 是你的 GitHub 用户名)的公共仓库和一个存放博客源码的私有仓库,私有仓库名字随意。
私有仓库是为了保护源码不泄露,当私有博客仓库编译渲染完毕之后会将最终页面 push 到 your_user_name.github.io 仓库中,以达到展示的目的和保护源码的目的。
公共仓库 your_user_name.github.io 是为了存放博客的最终编译完毕的文件,通过 GitHubPages 来对外进行展示。
共有仓库和私有仓库通过 GitHub Token 来进行联系。

创建博客
找到博客的工作目录,右键打开 gitbash 终端,初始化一个 Hexo 博客。
hexo init <your_blog_name> |
需要注意的是我们需要把 butterfly 的
.git目录删除,因为会和我们博客仓库的.git冲突导致页面渲染失败。
至此,博客就创建了出来,随后我们需要将源文件上传到私有仓库中。
上传源码
我们可以使用如下命令将博客源码上传到 GitHub 仓库中。
cd <your_blog_name> |
生成 GitHub Token
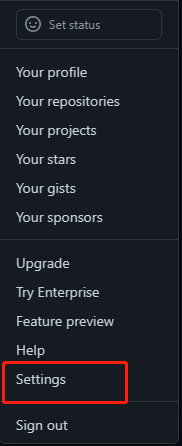
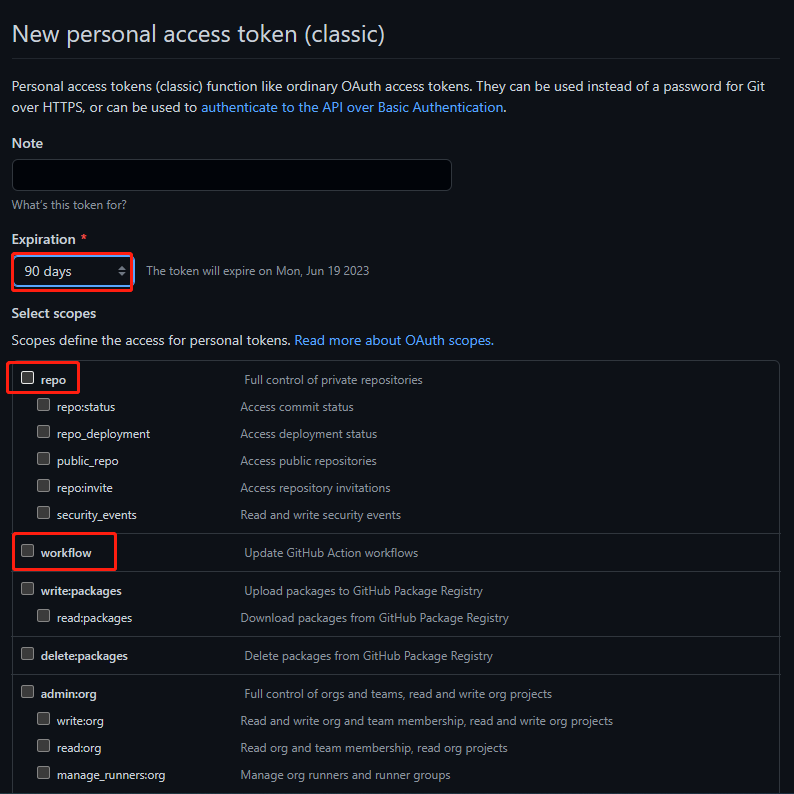
我们可以在个人设置中创建 token
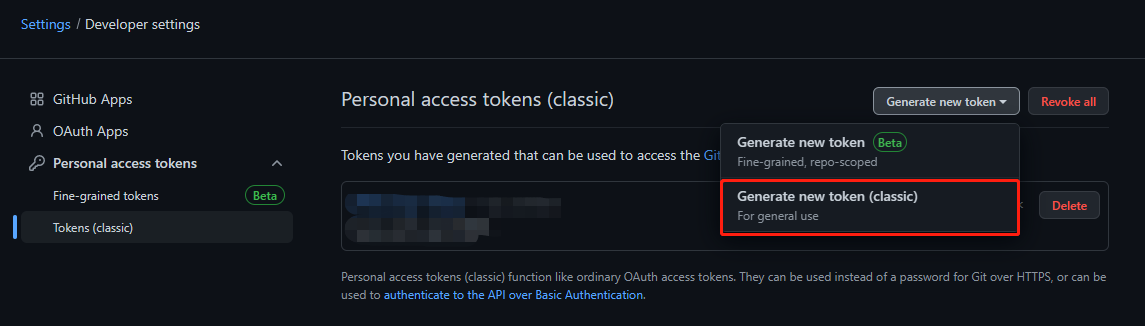
我们需要给 token 赋予 repo 和 workflow 权限;建议设置90天的有效期;将 token 复制下来,否则忘记的话还需要重新生成。
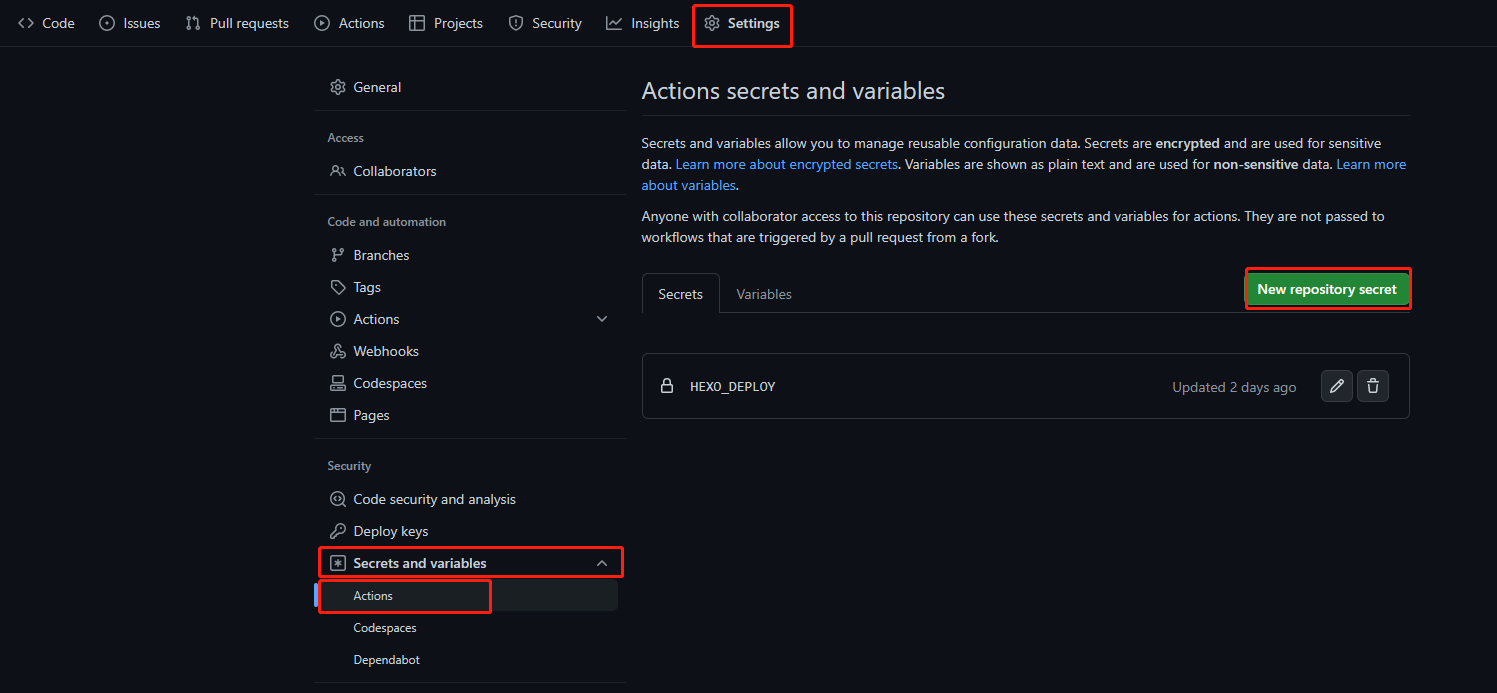
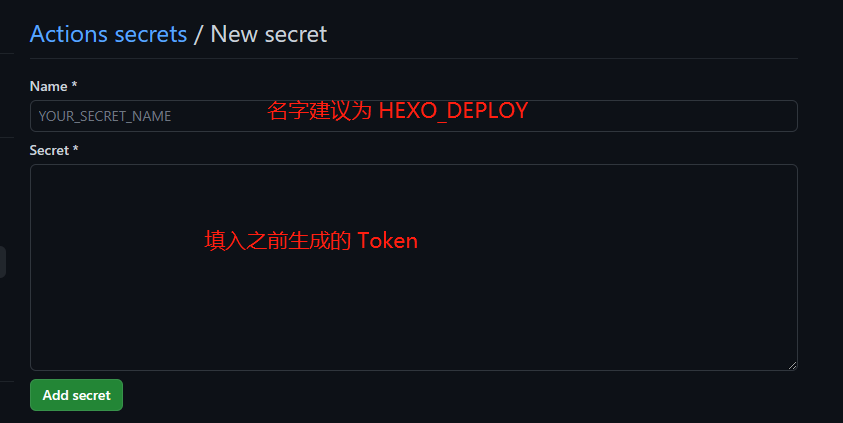
设置 GitHub Token
设置 Token 是为了将私有博客仓库中编译出来的博客页面能够 push 到
your_user_name.github.io仓库中,以达到源码不泄露的目的。
打开私有博客仓库的 Setting
创建 workflow
在博客的根目录下创建 .github/workflow/hexo-deploy.yml 文件(文件名无所谓,但路径必须是这个路径)。在 hexo-deploy.yml 文件中写入一下内容:
name: Pages |
以上 yml 文件只需要修改 PUBLISH_REPOSITORY 为你自己的仓库即可,此仓库必须为 your_user_name.github.io。
具体配置请参阅 GitHub Action。
此处使用了 hexo-deploy-github-pages-action Action 插件,可以前去 theme-keep/hexo-deploy-github-pages-action查看具体用法。后面可能也会写一篇文章来介绍下 GitHub Action。
创建好 .github/workflow/hexo-deploy.yml 之后,将其上传到 GitHub 中,GitHub 会自动触发构建任务,来对博客进行构建。具体的,可以在私有博客仓库的 Action 中进行查看。构建完成后会自动将构建好的工程 push 到 your_user_name.github.io 仓库中进行 GitHubPages 部署,待 GitHubPages 部署完毕之后通过 https://your_user_name.github.io 来访问博客。
至此博客基本搭建完毕。
后续
如遇到什么问题可以与我取得联系,虽然我也可能不会,但我会尽力解答(^^ゞ